Bienvenue dans nos chalets flottants & gîte
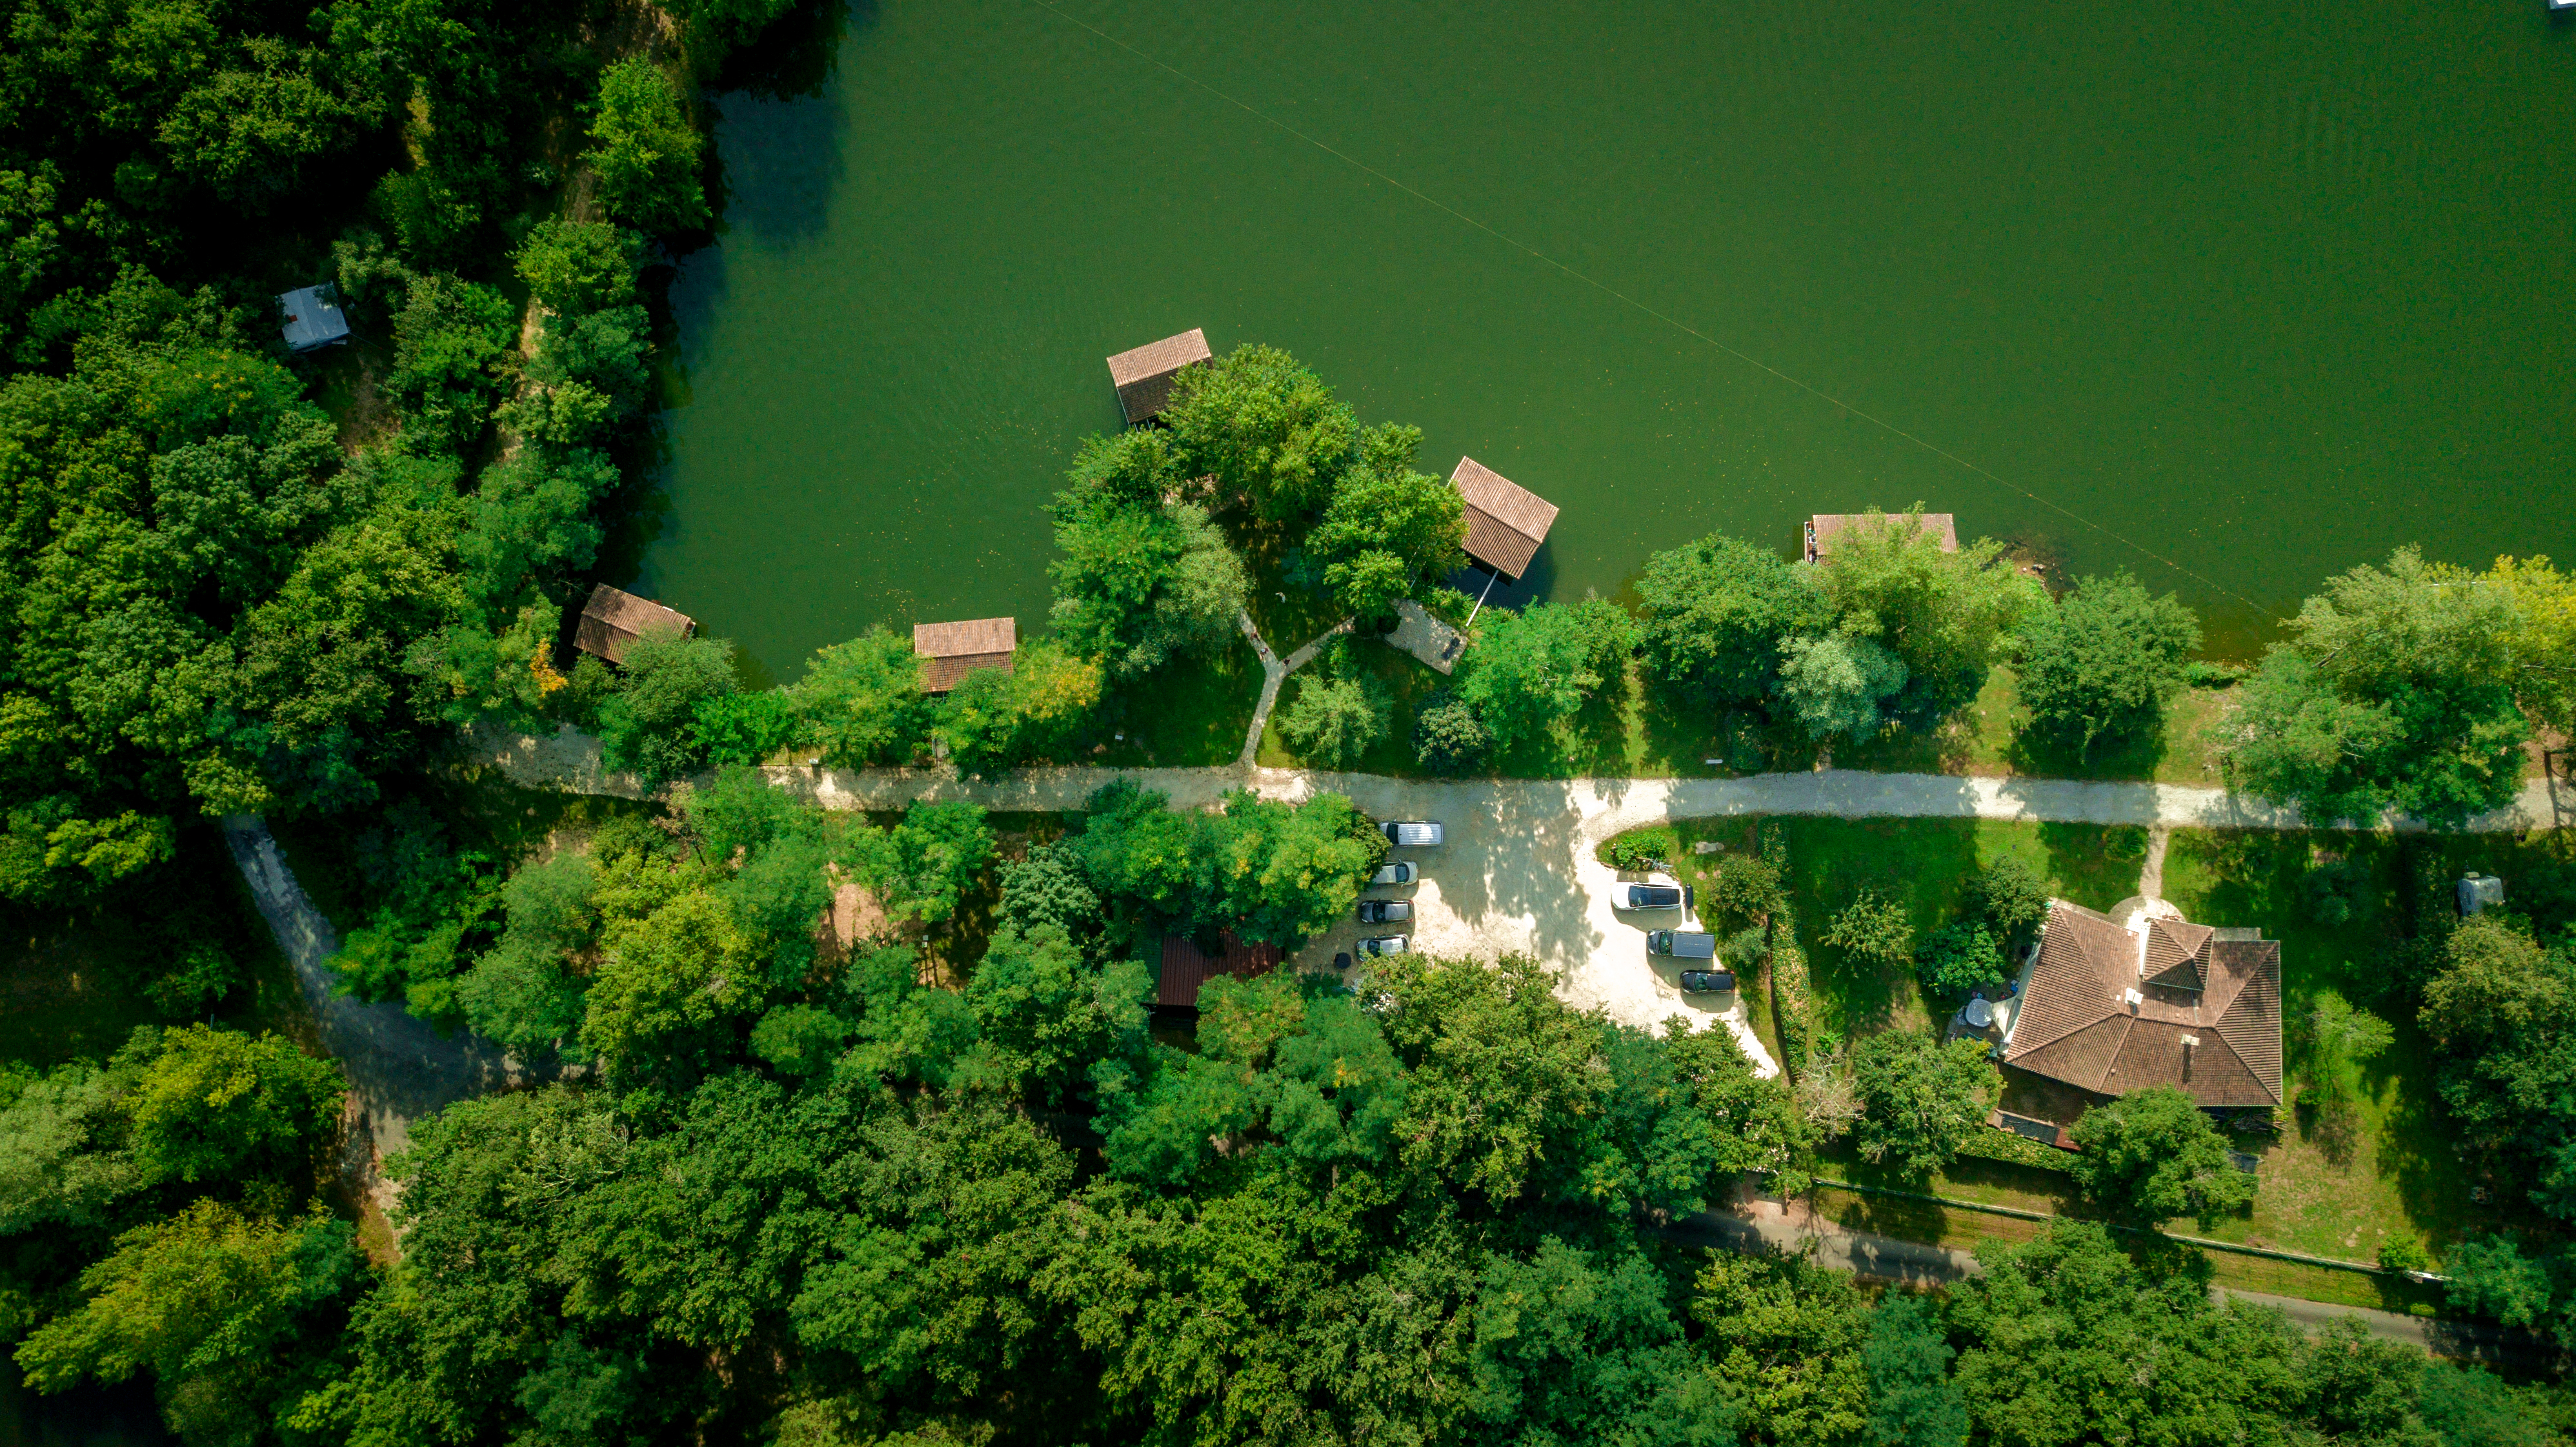
Nos chalets flottants offrent une expérience d'hébergement unique, alliant le confort moderne à l'immersion totale dans la nature. Situés sur un lac privé au cœur d'un domaine naturel préservé, nos cinq chalets vous promettent un séjour inoubliable, loin du stress quotidien, bercés par le doux clapotis de l'eau.

À partir de 135€/nuit
Boat Couple
Chalet romantique pour deux, offrant une vue imprenable sur le lac. Idéal pour un séjour en amoureux.
À partir de 185€/nuit
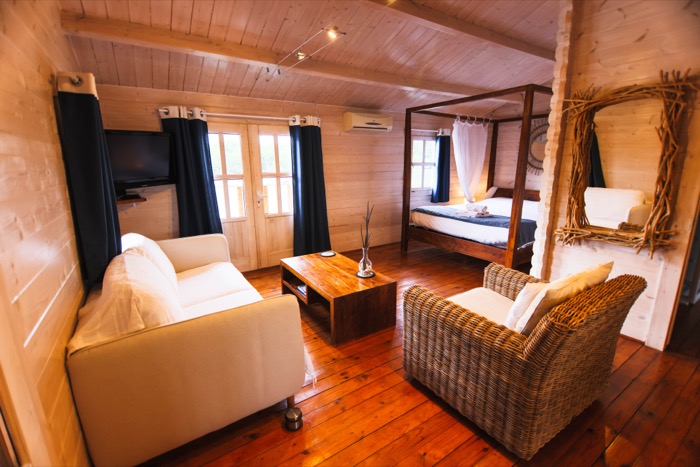
Premium Duo
Notre chalet le plus intime, parfait pour un séjour romantique en couple. 38m2 de confort pour un séjour romantique.
À partir de 170€/nuit
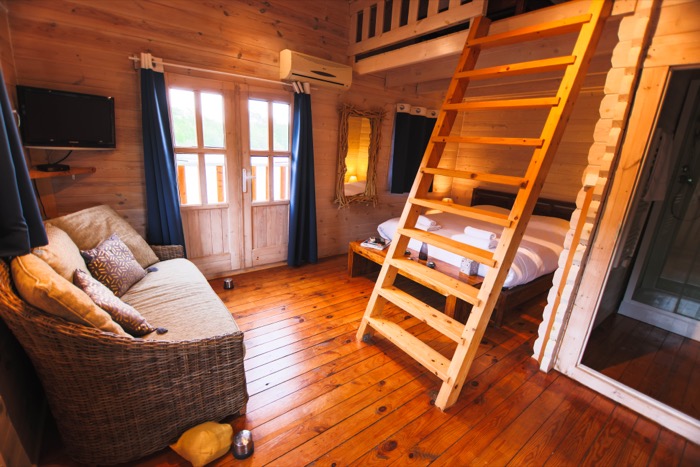
Crique
Notre chalet fonctionnel et confortable. il dispose d'une mezzanine idéal pour les couples ou les petites familles. 30m2 de confort moderne.